 In part 1 we discussed maps. Previously we have discussed navigation without a compass. Now lets discuss how to use a compass along with your map to get you from point A to point B.
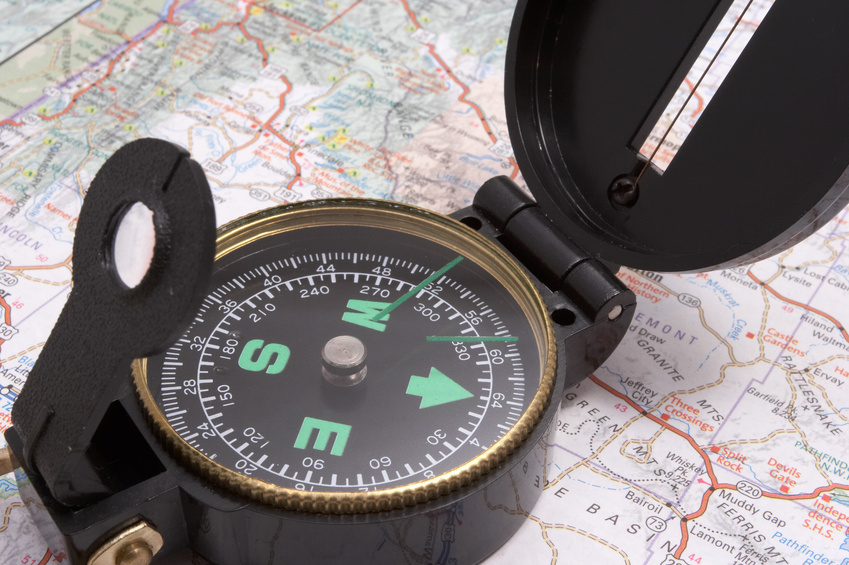
A compass is an essential part of navigation, even if you are in an urban environment. And especially if you are traveling by night. This isn’t going to be an in-depth article on land navigation. But we are going to talk about orienting your map and compass so you can use your compass to go in the right direction.  It is important to get a quality compass. There are many inexpensive ones on the market. personally I prefer the military type as that is what I am used to. You want to
  ensure it has a rotating bezel and has good luminous capability for night work. You can shop around Amazon for a good one.
declination
In Part 1 we explained that depending on where you are at, the north on your map and the north you compass points to may not be the same. We explained why there. So lets look at how to work with that so you can navigate. At the bottom of a good  topographic map you will find the declination diagram along with other information. If you look at the example, you will see that for this map, magnetic north (MN) is 19 degrees East of true north (the line with the star on top. Depending on where you are at, the magnetic declination can either be East or West. Declination is important because if you just line up the map with you compass without accounting for the declination, you will continue to veer off from you proper course an ever increasing distance.
Orienting The Map and Compass
Determine the direction of the declination and its value from the declination diagram. With the map in a horizontal position, take the straightedge on the left side of the compass and place it alongside the north-south grid line with the cover of the compass pointing toward the top of the map. This procedure places the fixed index line of the compass parallel to north-south grid lines of the map. Keeping the compass aligned as directed above, rotate the map and compass together until the magnetic arrow is below the fixed index line on the compass. At this time, the map is close to being oriented.
  Then, rotate the map and compass in the direction of the declination diagram. If the magnetic north arrow on the map is to the left of the grid north, check the compass reading to see if it equals the G-M angle given in the declination diagram. The map is then oriented. The illustration is from Army Field Manual FM 3-25-26 and shows a compass oriented to a map with a declination of 10 degrees West.
Getting From Point A to Point B
There are a number of techniques to figure out where you are (point A) that you can learn from either a military map ready manual or orienteering book. For our purposes, lets assume you know where you are at on your topographic map, and need to plot an  azimuth (direction) to where you want to go. Having a map protractor is a great help in doing this. Mark your current location on your map with a pencil, and then mark the location you want to go to. Take your protractor or any straight edge and draw a line connecting the two points. Place the center of the protractor on your location, ensure it is aligned vertically on the map, and read the degree mark where the pencil line comes out of the protractor. That is the grid azimuth you want to follow. Accounting for your declination, that is the magnetic azimuth on your compass you want to follow.
Land navigation and orienteering are skills you really need to master if you are serious about survival. But like all other skills, it takes practice. Get some good maps, buy a good compass and find some orienteering clubs in your area. Not only is it excellent training, it is a lot of fun and can become a family hobby. A hobby that can help you survive.
In Part Three we are going to discuss navigating cross country using you compass.
